If you are stuck with an iCloud Activation Locked or Blacklisted Apple Device, the iCloud Unlock Deluxe Software is the best solution to your problem. This Freeware developed by Coronation Software is the most versatile Software when it comes to removing the Activation Lock from your iPhone or iPad. iCloud Lock can strike anyone. Those who forgot their passwords, buyers of second-hand phones who are unable to contact the previous owner or users who got blacklisted by their carrier for failing to pay their bill on time are all users who can benefit from the free Software called iCloud Unlock Deluxe
Downloading and Installing the Software
The developers of this Software have offered MacCrunch readers an exclusive freeware of this great software. This Software is not offered anywhere else other than on our blog. If there is any other source trying to sell this software to you or offering iCloud Unlock Deluxe on a 3rd party website do not download it from there as it may contain unwanted software that could harm your computer.
How to Download and Install iCloud Unlock Deluxe :
Once you are done Downloading iCloud Unlock Deluxe you will be greeted by the installer. We’ve published an Installation tutorial at the bottom of this page.
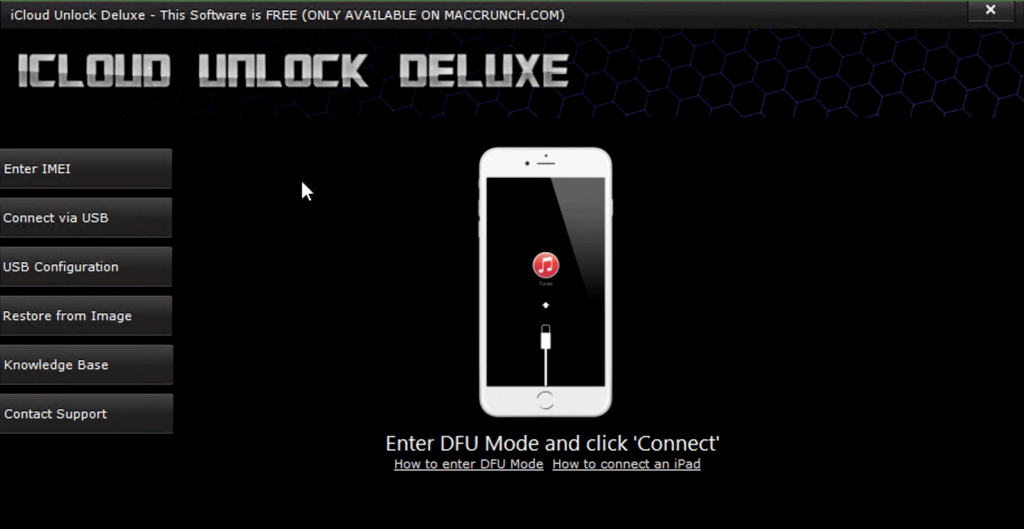
After Installing the Software you are greeted with the home-screen of iCloud Unlock Deluxe. Here you can see the various options available including but not limited to:
- Unlocking an iPhone, Cellular iPad or Cellular Apple Watch via IMEI (Enter IMEI option)
- Unlocking any iPhone, iPad or iPod via USB (Connect via USB option)
- USB Configuration to configure the connection method (Irrelevant for Beginner users)
- Restore from Image to Restore your device from a previous filesystem
- Knowledge Base for Help, Tips and Tricks
- and Contact Support to speak to an agent via Live Chat
To continue to unlock your device via USB simply connect it using the Apple Lightning cable and click ‘Connect via USB’.
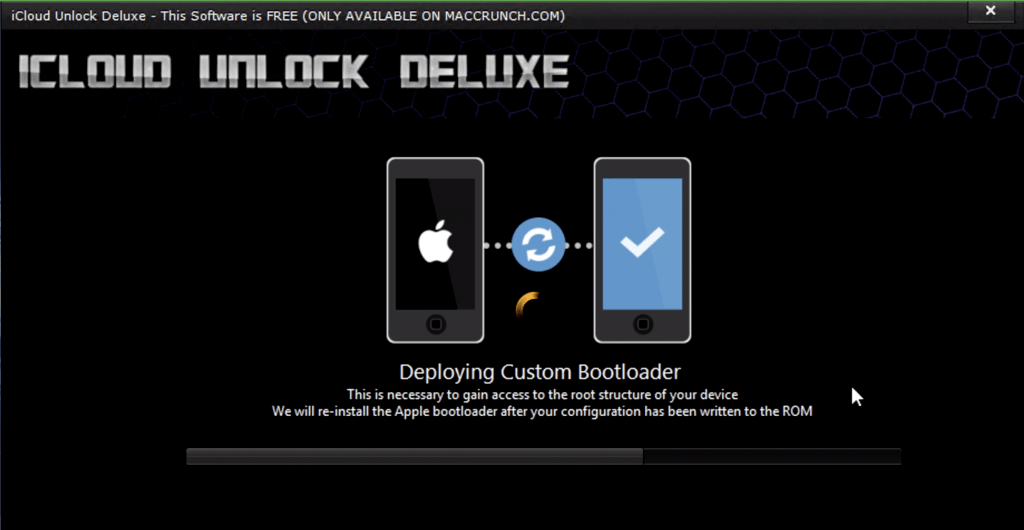
Initializing the Custom Bootloader
This will reboot your device and upload a custom bootloader to allow iCloud Unlock Deluxe full access to your iPhone, iPad or iPod. This may take up to 5 minutes and it is not recommended to disconnect your device while this action is in progress. If you have issues getting your device into DFU mode consult this article.
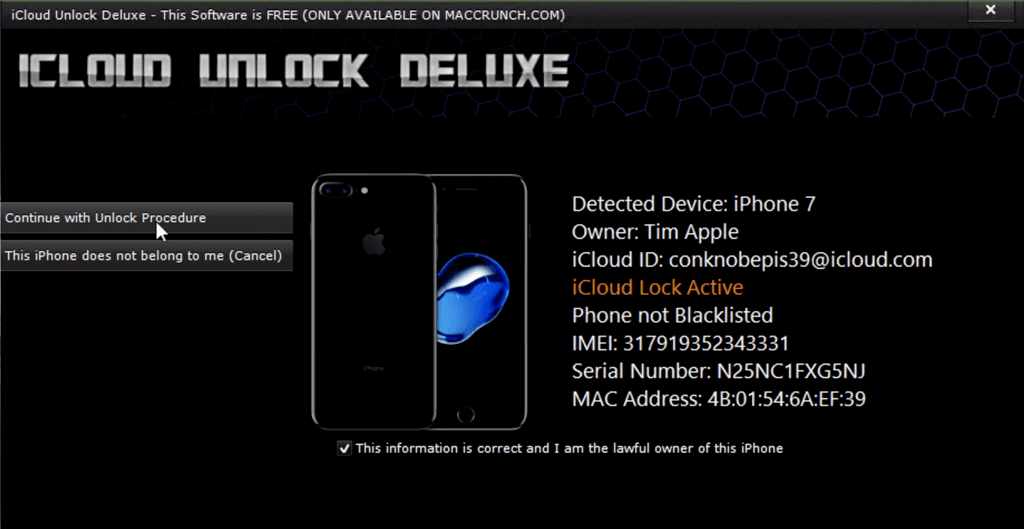
iCloud Unlock’s Interface options
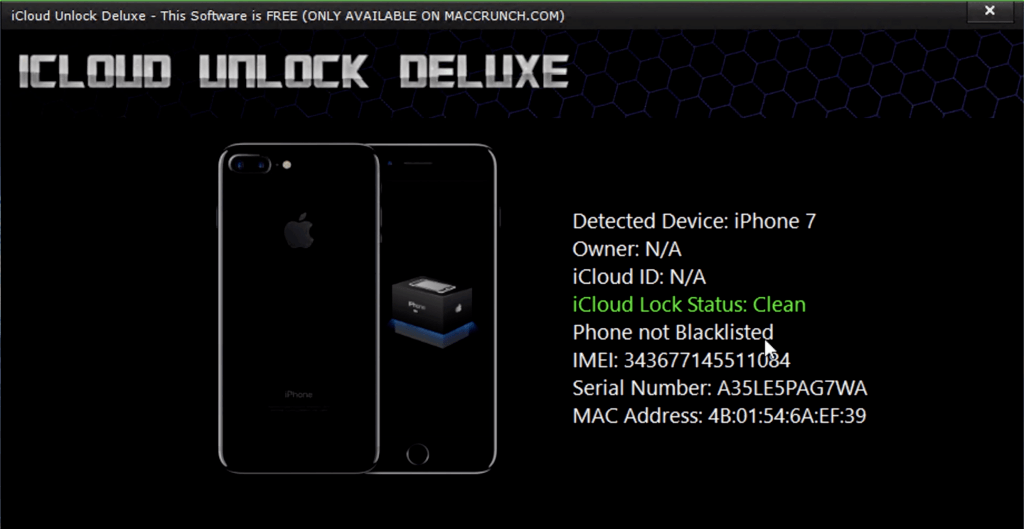
You will now see more information about your device. To ensure that you are the lawful owner of this device all details such as:
- Detected Device
- Owner Information
- Connected iCloud ID
- Status of the iCloud Lock
- Status of the Carrier Blacklist
- Cellular ID Information
- Serial Number Information
- and your MAC Address will be displayed
To continue you need to ensure that the device you are holding is your legal property and click the ‘This information is correct and I am the lawful owner of this iPhone’ Checkbox
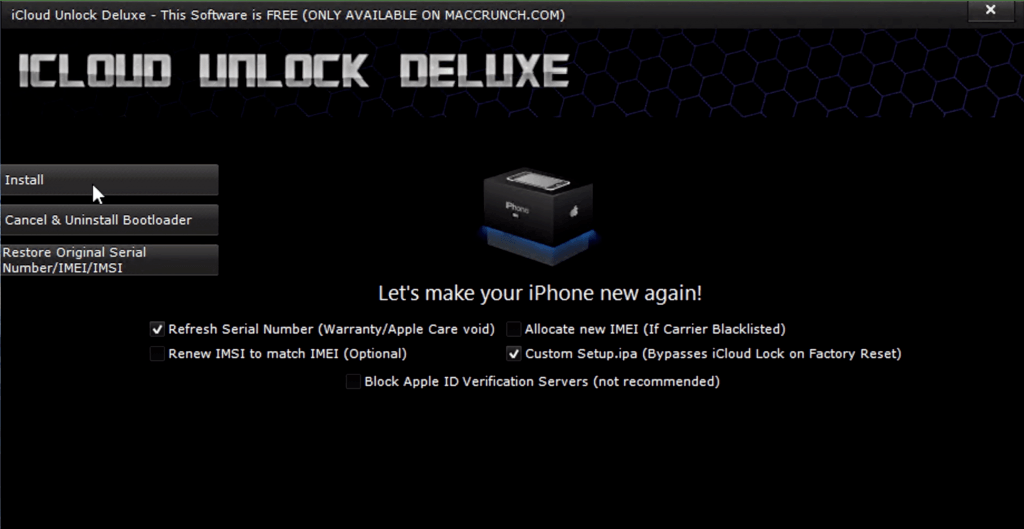
Choosing the correct Configuration
Once you’ve chosen to continue you will see the following screen. Here you can choose from the following options:
- Refresh Serial Number (This will VOID your Warranty and Apple Care but ensure your iPhone is no longer identifiable by Apple)
- Renew IMSI to match IMEI (Recommended if you have a carrier blacklist)
- Allocate new IMEI (Recommended if you have a carrier blacklist)
- Custom Setup.ipa (This ensures your iCloud is bypassed even when you reset or update your iPhone)
- Block Apple ID Verification Servers (Blocks all connection to iCloud Servers. This option is for Experts only that do not require iCloud)
You can now choose to ‘Install’, ‘Cancel and Uninstall the Custom Bootloader’ or to ‘Restore Original Serial Number/IMEI and IMSI’
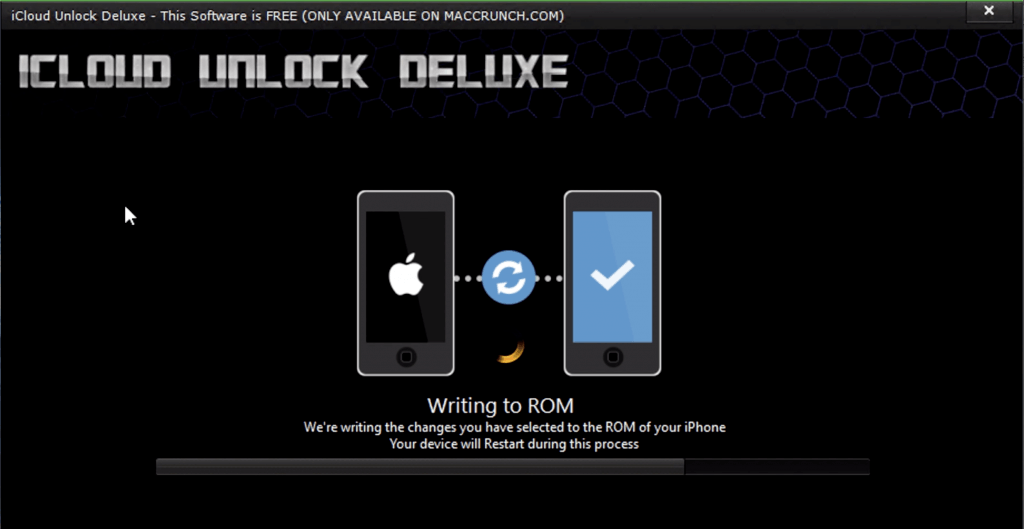
After continuing with the install the selected changes will be written to the filesystem. Your device may restart several times during this process. Please do not disconnect your device at this time.
Now you’re good to go! All the selected changes have been written to your device and you are free to configure it to your liking.
How to Install the Software
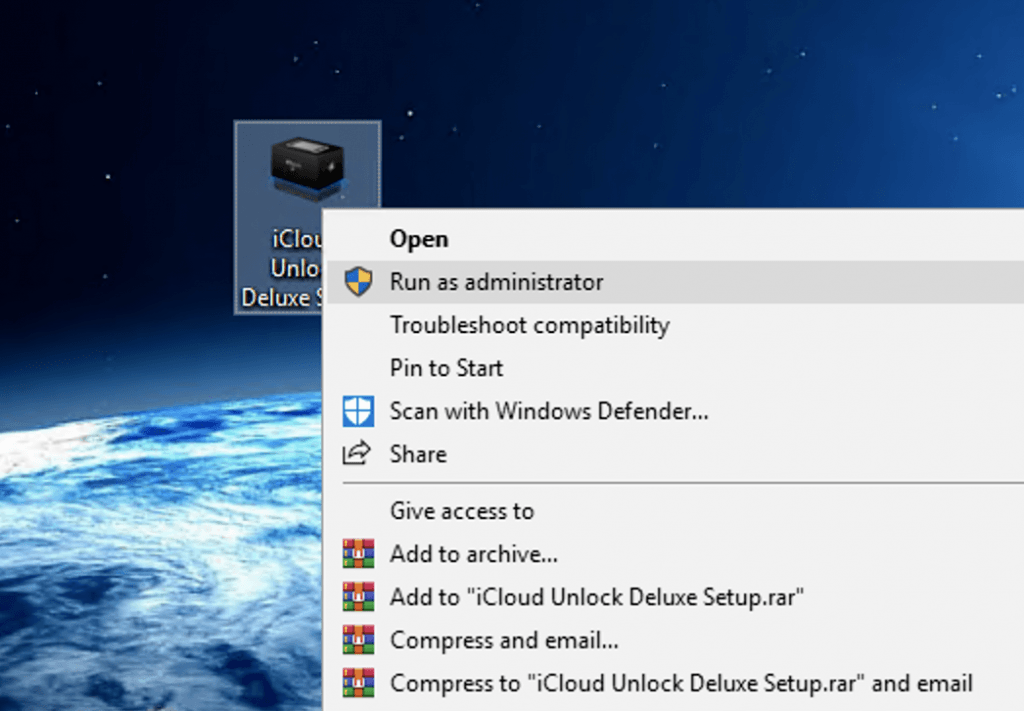
After downloading, right click and select ‘Run as adminstrator’
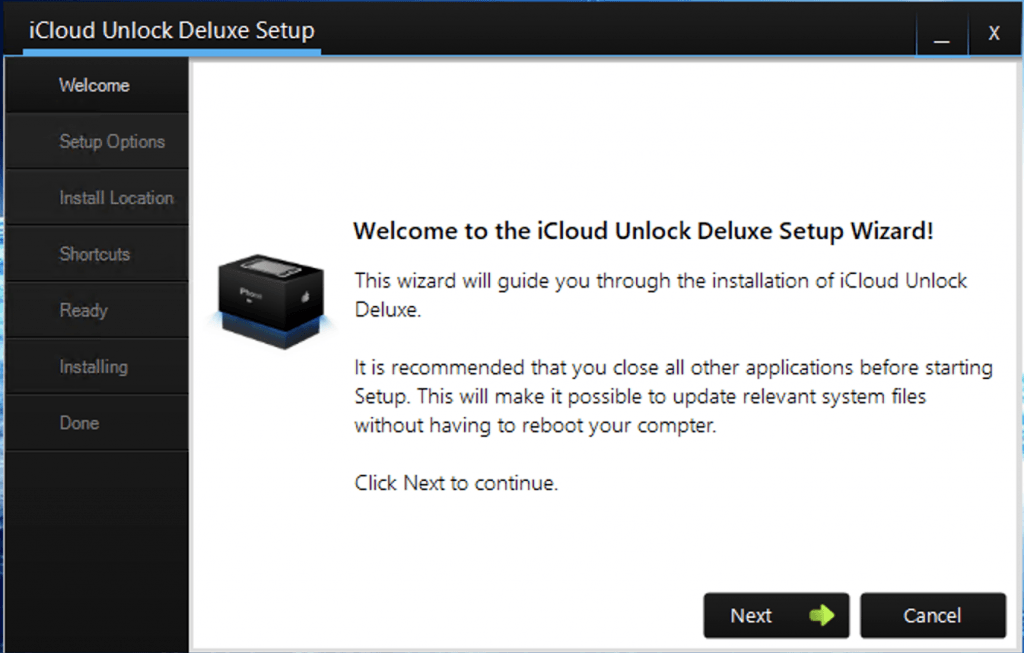
You are greeted with the installation wizard. Click ‘Next’ to continue
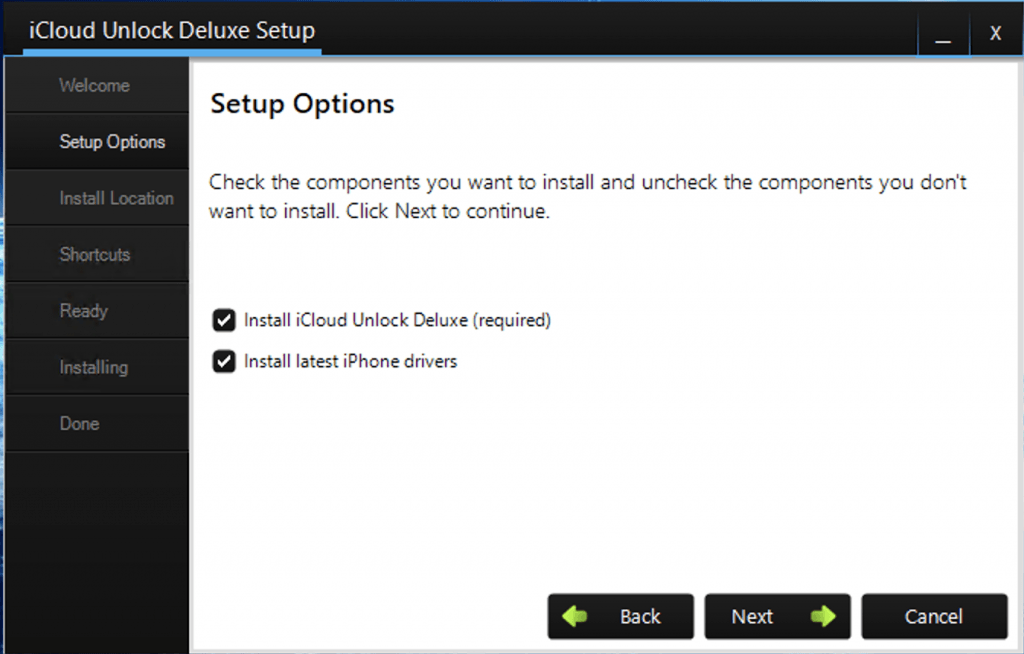
Make sure both boxes are checked if this is the first installation you are running and click ‘Next’
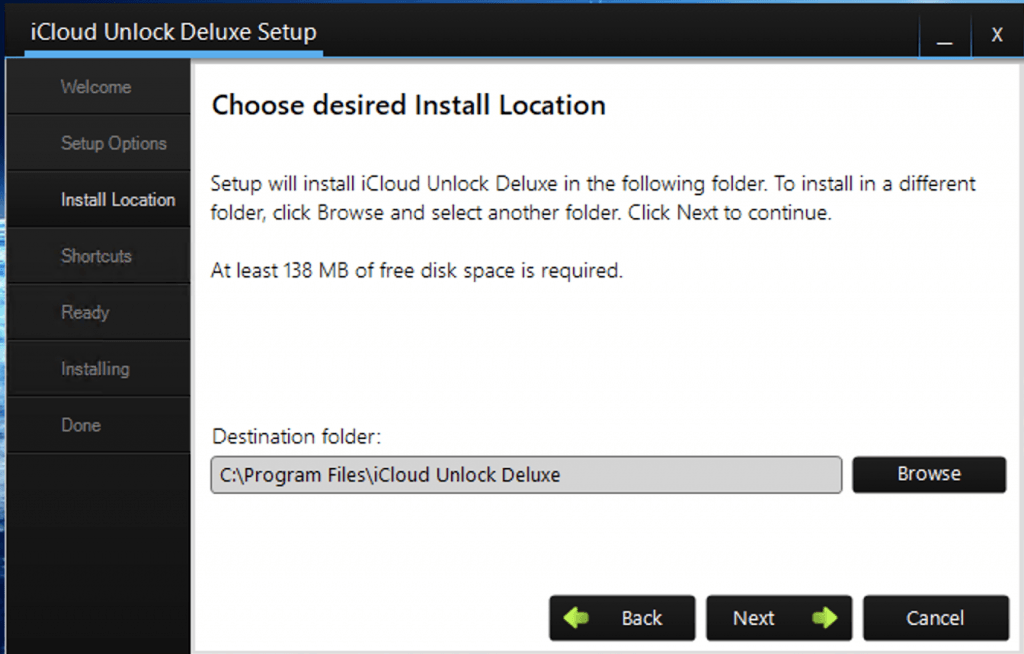
The Setup Wizard will confirm the path and disk space used with you. Click ‘Next’ to continue
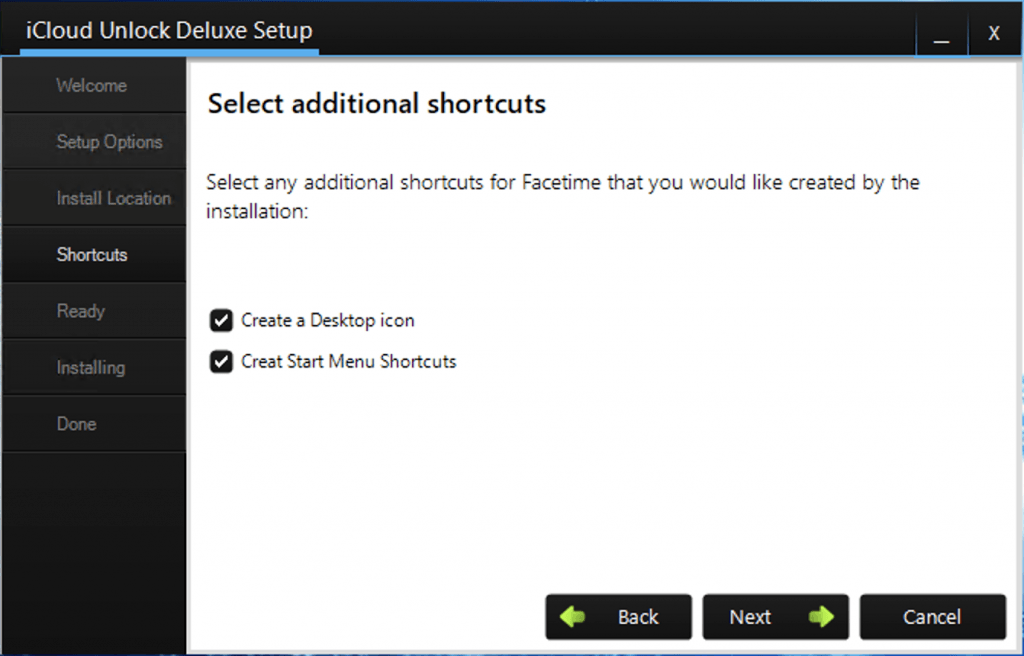
Customize your settings or confirm the recommended setup and hit ‘Next’
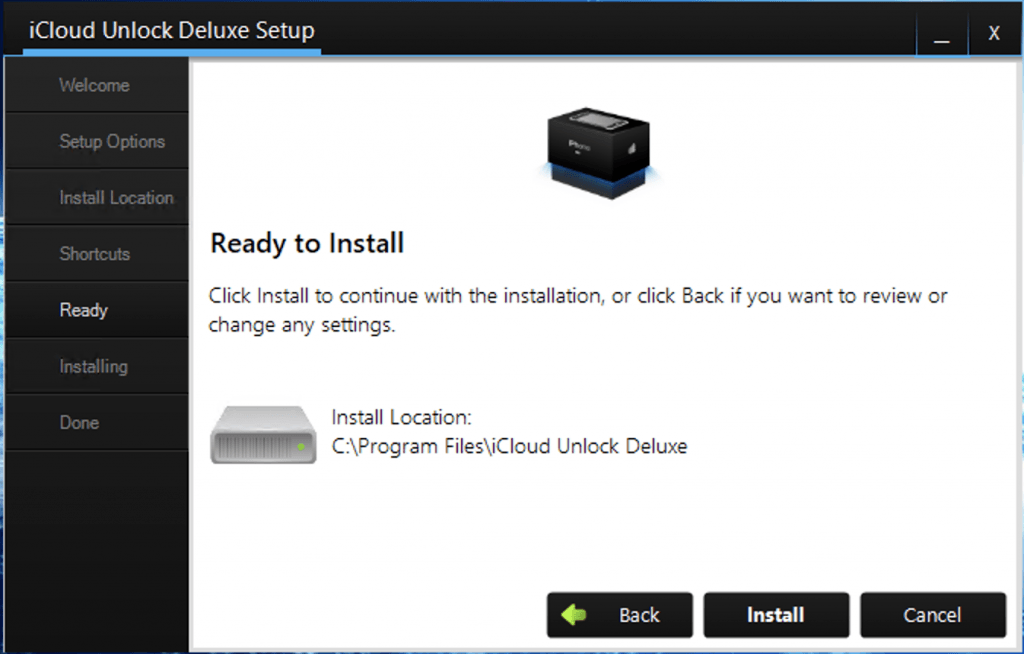
Ensure the installation path is correct and continue by clicking ‘Install’
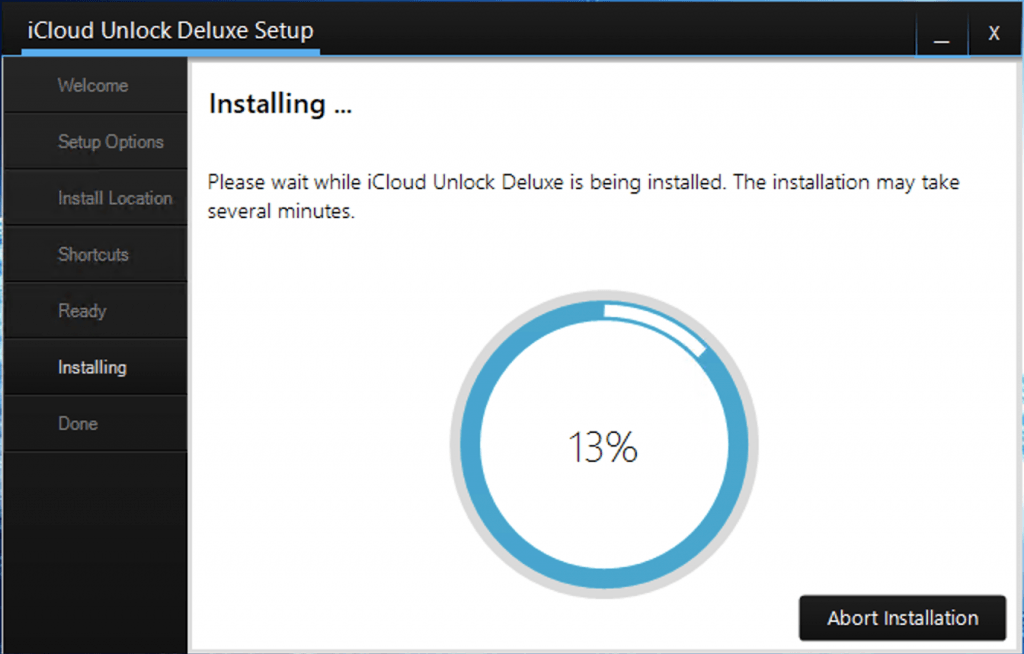
Now you wait for the Software to be installed. This may take a few minutes.
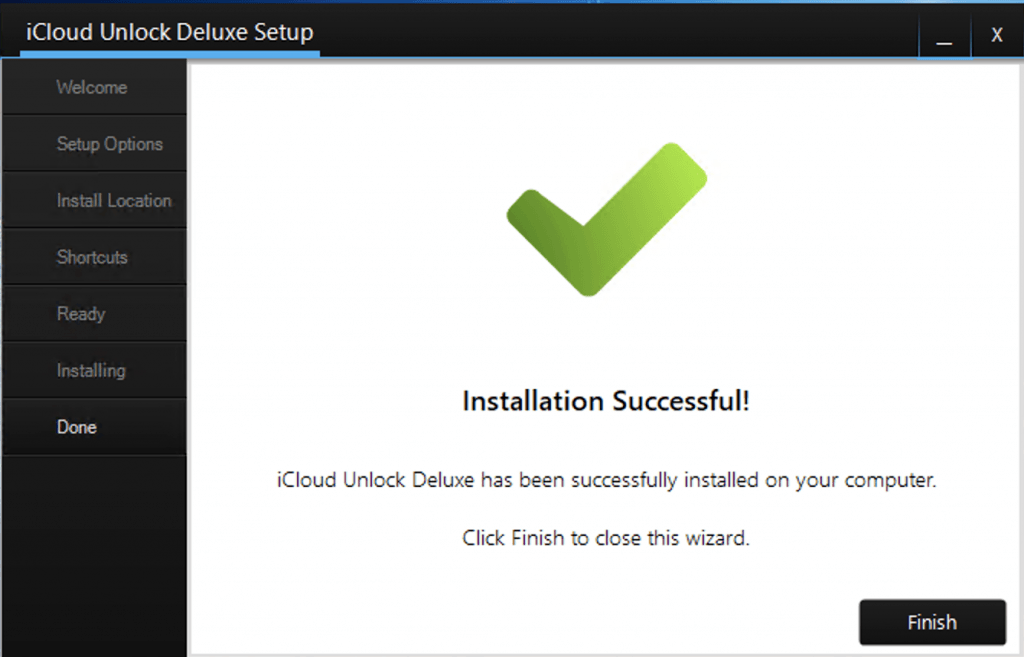
Now you are done and can start using the Software as in the guide in this article.


superthanks dude. you ar incredible awsome!
OH MY GOOOODDDDD IT WORKSSS THANK YOU!!!!!!!!!!!!!!!!!!!!!!!!!!!!
OMGGG. Thank you so muchhhhh. I’m freaking out rn. This worked perfectly fine.
Thank you! this work perfectly for me 🙂
This is a great tip. Thank you very much.
THIS works!!! , you save me, thanks
omg this works perfectly brooo! you’re my hero